¶ Overview
● Connect to a GeoPortal account.
● Download and manage GeoPackage data for a publish process.
● Validate and fix geometry errors.
● Validate alphanumeric (attribute) rules.
● Import external data via the ETL wizard.
● Perform batch edits on selected layers.
The plugin adds menu entries and a toolbar in QGIS.
¶ Installation & Access
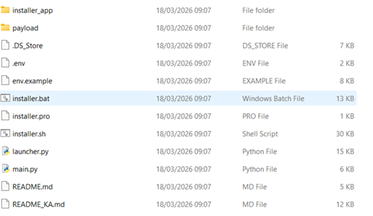
The operator user clicks on installer.bat (in windows) in the folder of the plugin (The version of qgis program should be LTR (Long Term Release) and it should be closed before installing).
The following form shows.

The operator user clicks on Run and will direct to the installer form.
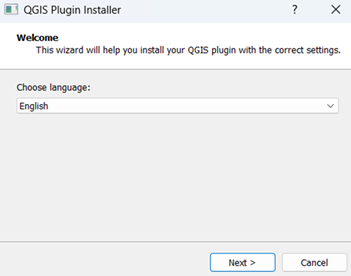
The system identifies the installation path of QGIS.

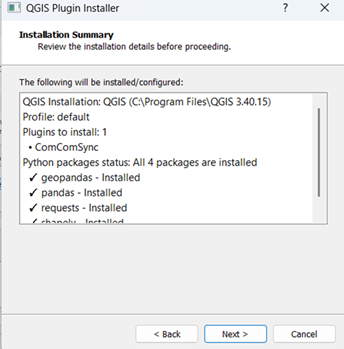
By clicking on Next button, the system shows installation summary.
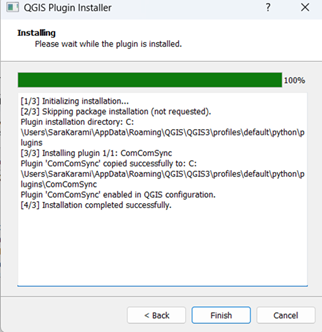
By clicking on Finish button, the plugin will be installed.
The user should enable the plugin.
QGIS > Plugins > Manage and Install Plugins > ComComSync
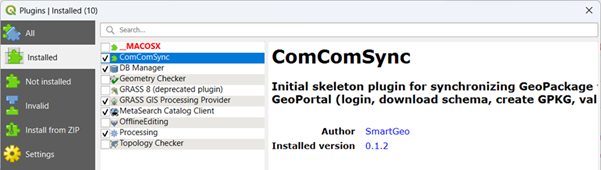
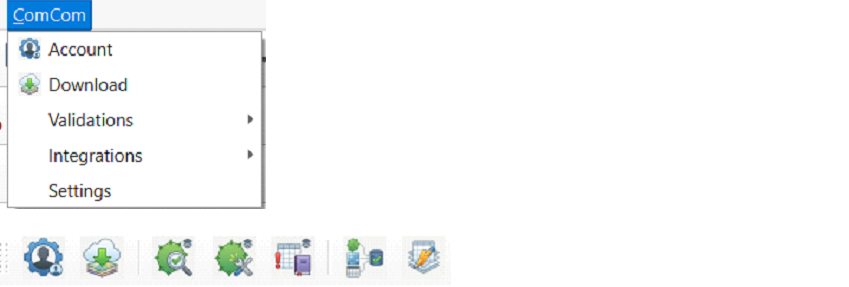
The plugin appears as ComCom in the QGIS menu bar and as a ComCom toolbar with quick actions.
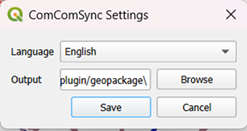
¶ Settings
The user should define the desired path for storing geopackage
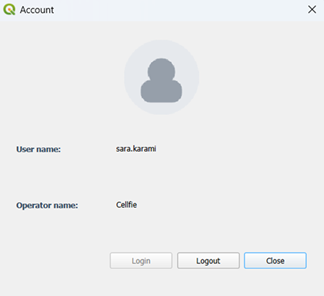
¶ Account
The user clicks on Login button and will direct to ComCom login page.
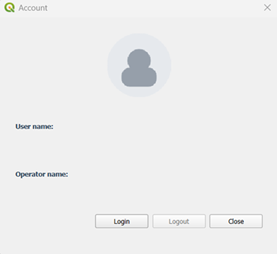
The user inserts his authentication information and after doing login, the information is displayed in the form.
¶ Download
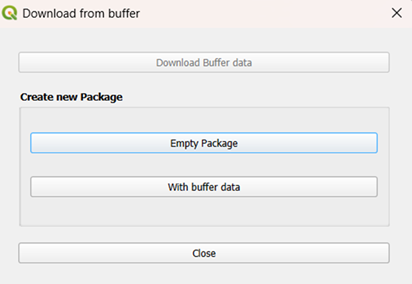
The user is able to get data from the server or open local geopackage.

¶ The system shows the following form when there is no geopackge. The user can create Empty package or download buffer data from geoportal
The user can filter data based on the desired region, municipality, and element type. The selected regions and element type will show in the layer
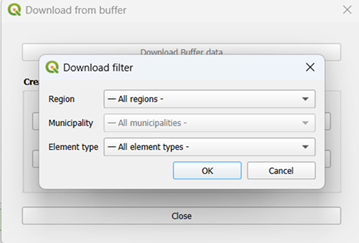
All the available layers in geoportal will be shown

● If the data of the local geopackage and geoportal are not synced, the system shows conflict form. The user can decide whether to keep local edits or use the remote version.
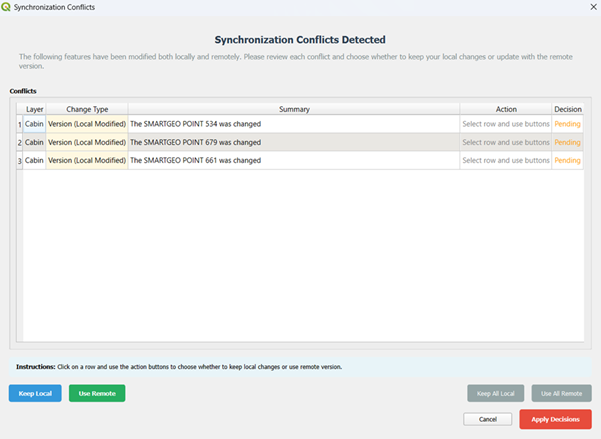
The user clicks on Keep Add Local or Use All remote and the system applied the decision. The system downloads available data and shows on the map.
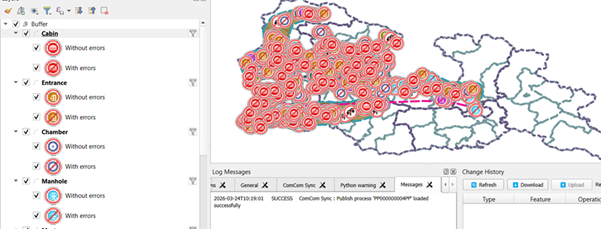
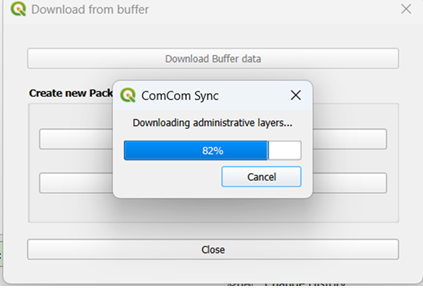
¶ Download Buffer data: When the valid geopackage was created and the user has access to internet, it downloads all buffer data from the server.

¶ Open local geopackage: when the valid geopackage was created and the user is offline and don’t have access to internet, the system gets the geopackage.
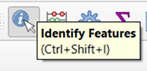
¶ Identify feature
The user clicks on Identify features and all information of the selected feature is shown
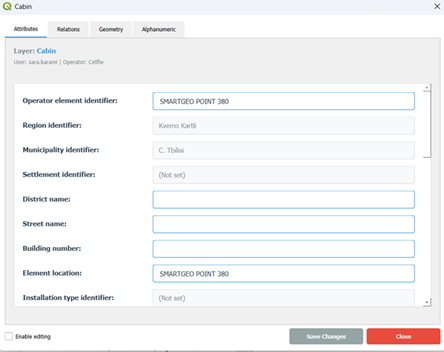
¶ Attributes
It shows all attribute information
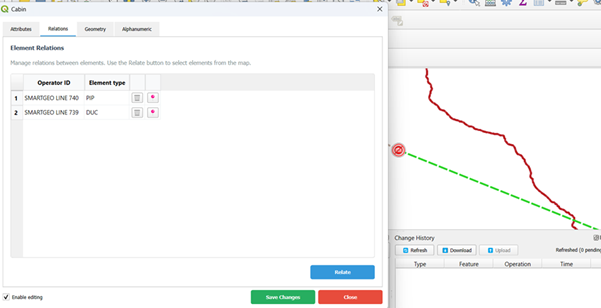
¶ Relations
It shows all features that are related to the selected element. By Enable editing, the user can add a new link or remove the existing links.
The user clicks on Relate button and select the desired features from map. The list of selected features is shown.
The user can select desired layer(s) and by clicking on Start validation, the system validates the geometries
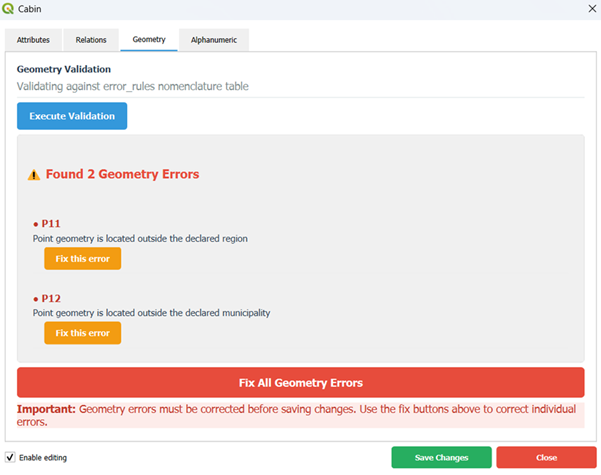
¶ Geometry
The user clicks on Execute Validation button. It shows the list of the geometry errors. By clicking on Fix All Geometry Errors, the system identifies the correct region and municipality of the selected feature and fix the errors. If the line has error like invalid node or duplicated features, it should be fixed manually by user.
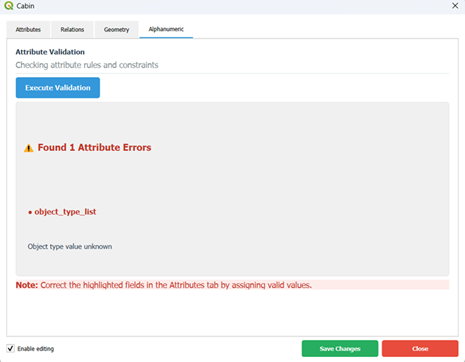
¶ Alphanumeric
The user clicks on Execute Validation button and the system shows all alphanumeric errors. To fix the error, the user should assign value to the field with error
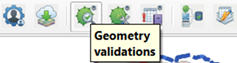
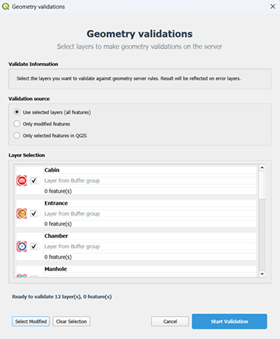
¶ Geometry validations
The user clicks on Geometry Validation button.
The system shows the list of the available layers. The user can select desired layer(s) and clicks on Start Validation button. The system applies all available geometry rules
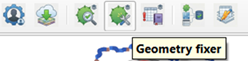
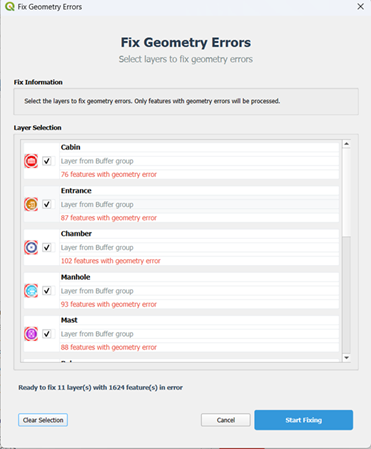
¶ Geometry fixer
The list of all available layers is shown and the user can select layer(s) to fix geometry errors. It fixes region and municipality errors and assigns correct values.
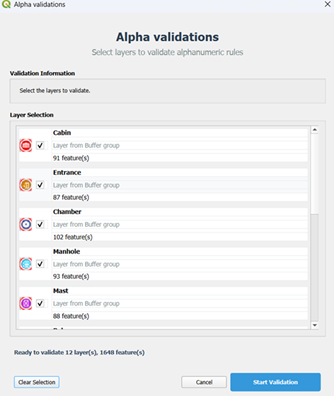
¶ Alphanumeric Validation

The list of all available layers is shown. By clicking on Start Validation button, the system executes the Alphanumeric rules and the fields with error will be shown in the Alphanumeric tab of the Identifier for each feature.
¶ Integration process
The user can add multiple features from a shapefile.

¶ Adding shape file
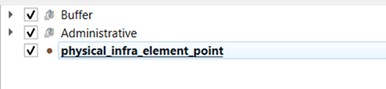
A point layer is added (the layer should be outside of the Buffer and Administrative) and the Cabin layer is selected.
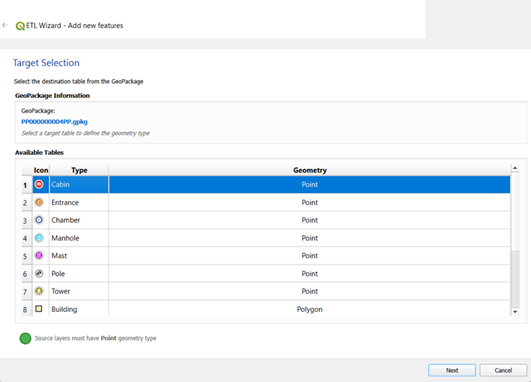
¶ Selecting target layer
The system identifies the type of the shape (point, line, polygon) as a source of the data and user can select desired layer to include.
¶ Adding features
By clicking on Next button, the user can filter desired feature(s). The user selects two features and clicks on Validate Filter.
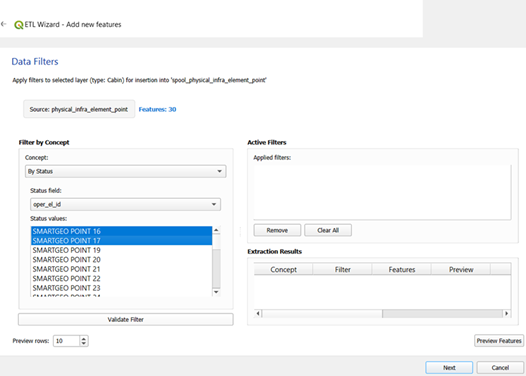
The user can view all information of the selected features by clicking on Preview Features button

¶ Mapping field(s)
The user can map the value of the desired field(s) to the target layer. For instance, the value of operator element identifier can be copied from the shape file or can be inserted as fixed values.
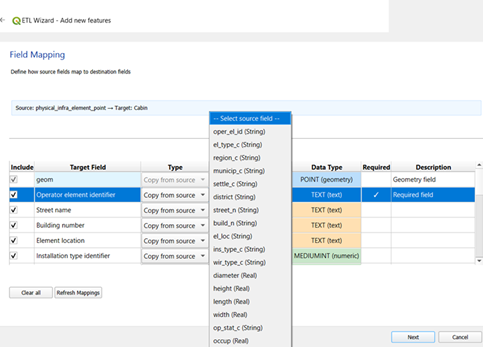
By selecting Fixed value, the system assigns values automatically, like Point1, Point2,..

¶ Execute process
The user clicks on Execute ETL button and if the features are not existed in the system (element type identifier + element type), the system integrated feature.
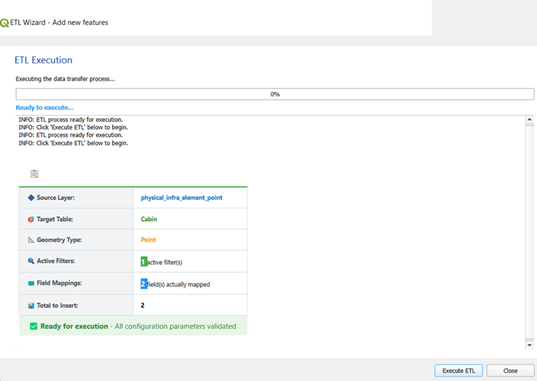
The ETL summary report includes:
● Total features processed: count of source features evaluated.
● Features inserted: count of features actually written to the target.
● Features skipped: count of features skipped due to missing geometry, invalid geometry, constraints, or mapping issues.
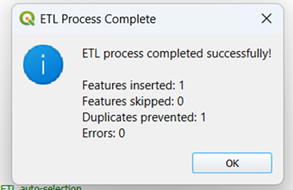
● Duplicates prevented: count of features skipped because they were identified as duplicates.
● Errors: count of processing errors during the run.
● Start time, end time, duration: timestamps and total runtime of the process.
If the features are existed in the system, it shows duplicated and prevent to be inserted
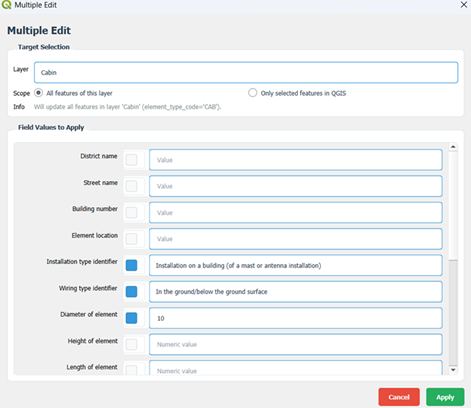
¶ Multiple Edit

The user can edit values of the fields of a layer by choosing layer or selecting features of the layer on the map.
¶ Layer
The user selects the desired layer and inserts the desired values in the desired fields. By clicking on Apply button, the value(s) be assigned.
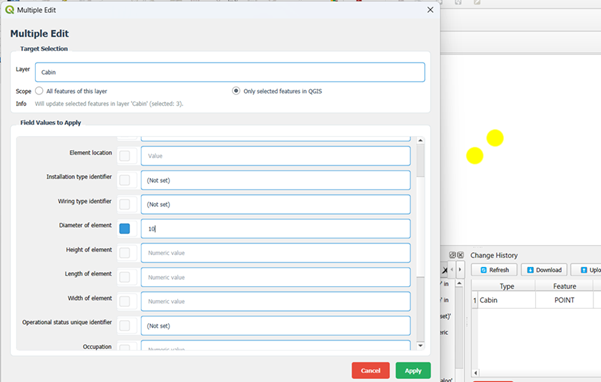
¶ Only selected features in QGIS
The user selects features on the map and the system shows the number of the selected features. The inserted values will be assigned to the selected features
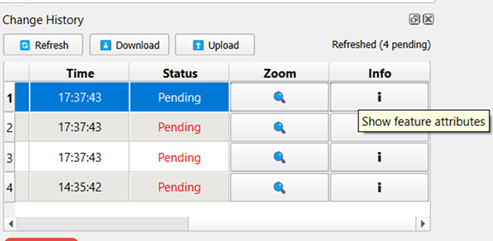
¶ Upload data
The inserted or updated features (operation) will be appeared in the change history.
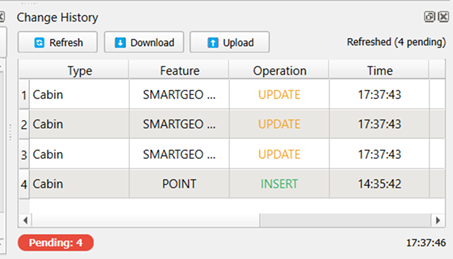
The user can view information by clicking on Info button and also Zoom to feature on map
The user clicks on Upload button and the modified features (inserted or updated) is shown (by default selected). The user clicks on Start Upload button and the features will be uploaded to the ComCom geoportal system and will be integrated.
